How to Grow Weed Indoors Guide
Table of Contents
- How to Grow Weed Indoors
- Steps on How to Grow Cannabis Indoors
- Step 1 – Define Your Grow Space
- Step 2 – Selecting Cannabis Strain
- Step 3 – Choose a Suitable Lighting
- Step 4 – Containers and Soil
- Step 5 – Decide Between Clones or Seeds
- Step 6 – Plant Cannabis Seeds
- Step 7 – How to Keep Plants in Shape
- Step 8 – Harvesting Cannabis Indoors
Growing Marijuana Indoors
Are you interested in exploring the world of cannabis cultivation?
Whether you’re a new grower or a seasoned one looking to expand your skills, indoor marijuana growing can be an exciting and rewarding endeavor that offers a plentiful supply of high-quality cannabis.
However, to avoid costly mistakes that could compromise your investment, it’s crucial to be well-informed and prepared before setting up your indoor cannabis farm.
In this comprehensive guide, inspired by years of experience in cannabis farming, we’ll provide you with the knowledge and understanding you need to grow marijuana indoors successfully.

Steps on How to Grow Cannabis Indoors
For the amateurs, growing cannabis indoors may sound like rocket science. Various stories from failed attempts may even worsen their fears.
As with every process, identifying the correct procedures is the key to success when growing your cannabis buds indoors. The abundance of misleading information in the cannabis industry has done more harm than good to new aspirants.
With the proper preparations and procedures, growing your cannabis indoors is not all that intimidating.
Let’s quickly go through the steps to achieve a great harvest from your indoor cannabis farm setup.
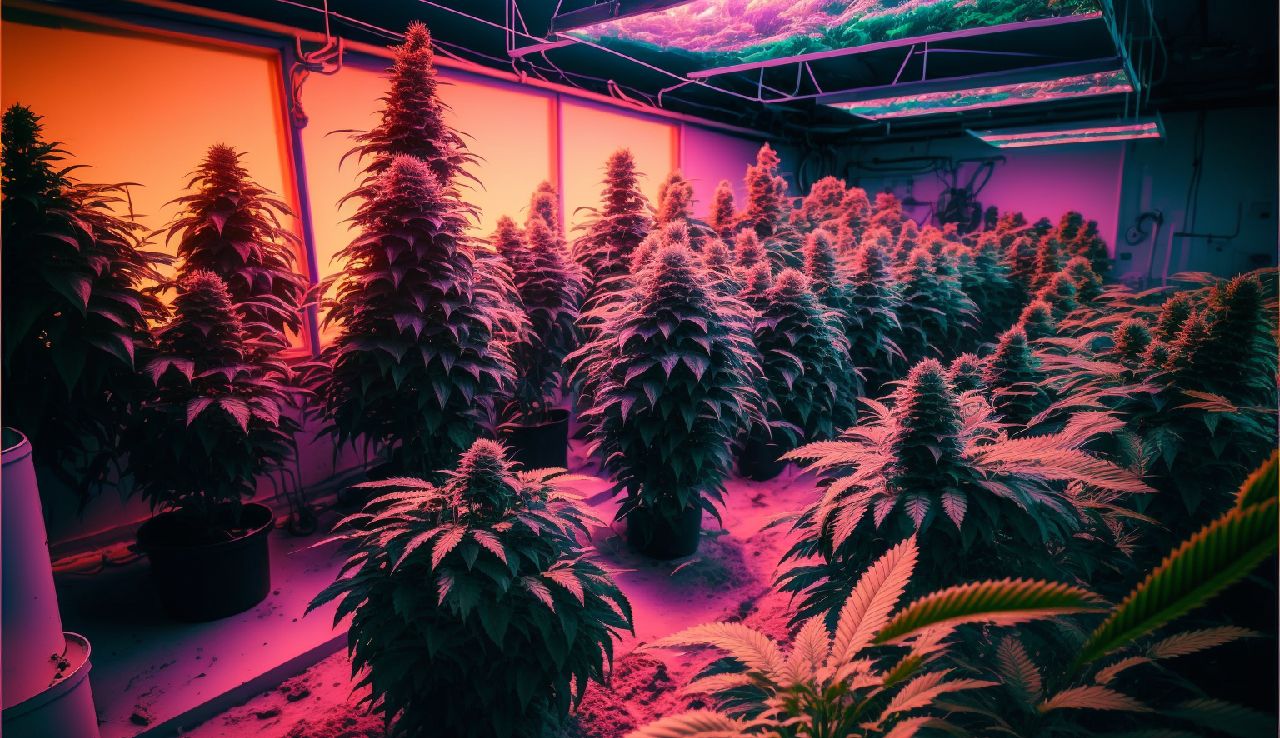
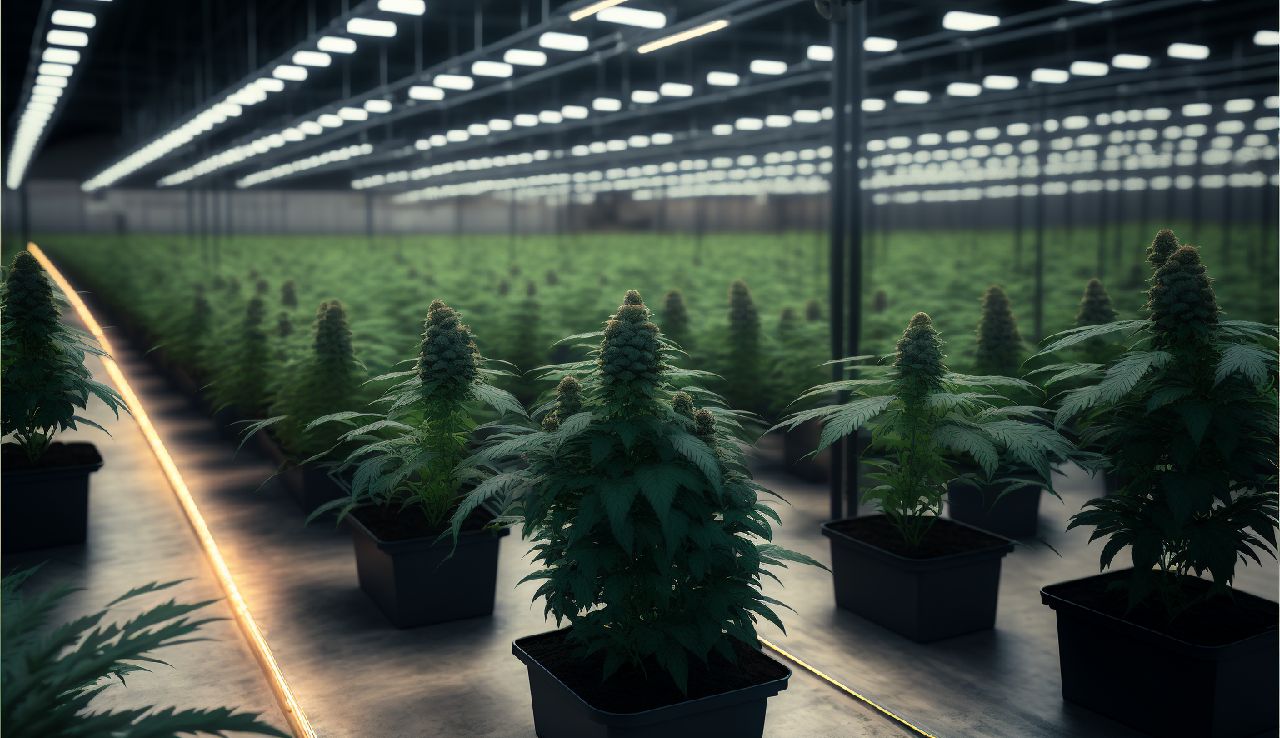
First Step – Define Your Grow Space
Since you’ll be growing your cannabis indoors, the first thing to sort out is mapping out a space for your growing spot. Making this decision can be somewhat challenging at first, as many factors must be considered.
Do you plan on using a soil-grown system, an aquaponics system, or a hydroponic system? The answers to these questions will help you select an ideal growing space for planting. In addition to choosing a growing medium, you must decide whether or not to use a grow tent.
How many strains do you intend to grow? Do you plan to use both flowering and vegetative modes? If not, you may not need a tent at this time. However, if you wish to grow your plants in different spaces or settings, you will need one or two tents and some lights.
Take enough time to decide on your space. The importance of a well-planned space must be addressed. Also, consider how many plants you wish to grow and your spacing requirements. Generally, the recommended cannabis spacing between plants is at least 18 to 24 inches. If you are confident that your space is suitable, move on to the next step.
Learn more: Setting Up The Grow Room
Step 2 – Selecting Cannabis Strain
Selecting cannabis strains is another tricky decision when considering growing cannabis indoors. Navigating through the thousands of choices on the market is often daunting and time-consuming – particularly as a beginner.
While some farmers prefer Sativa-leaning strains, which offer the mental high, others prefer the couch-lock calming effect of the Indica strains.
Much worse, new cannabis hybrids are created almost every year. Simply compare the alternatives and their properties and settle on one with a desirable proposition.
The strain you select determines your final products’ potency and overall quality.
Learn more: Best Cannabis Strains

Step 3 – Choose a Suitable Lighting
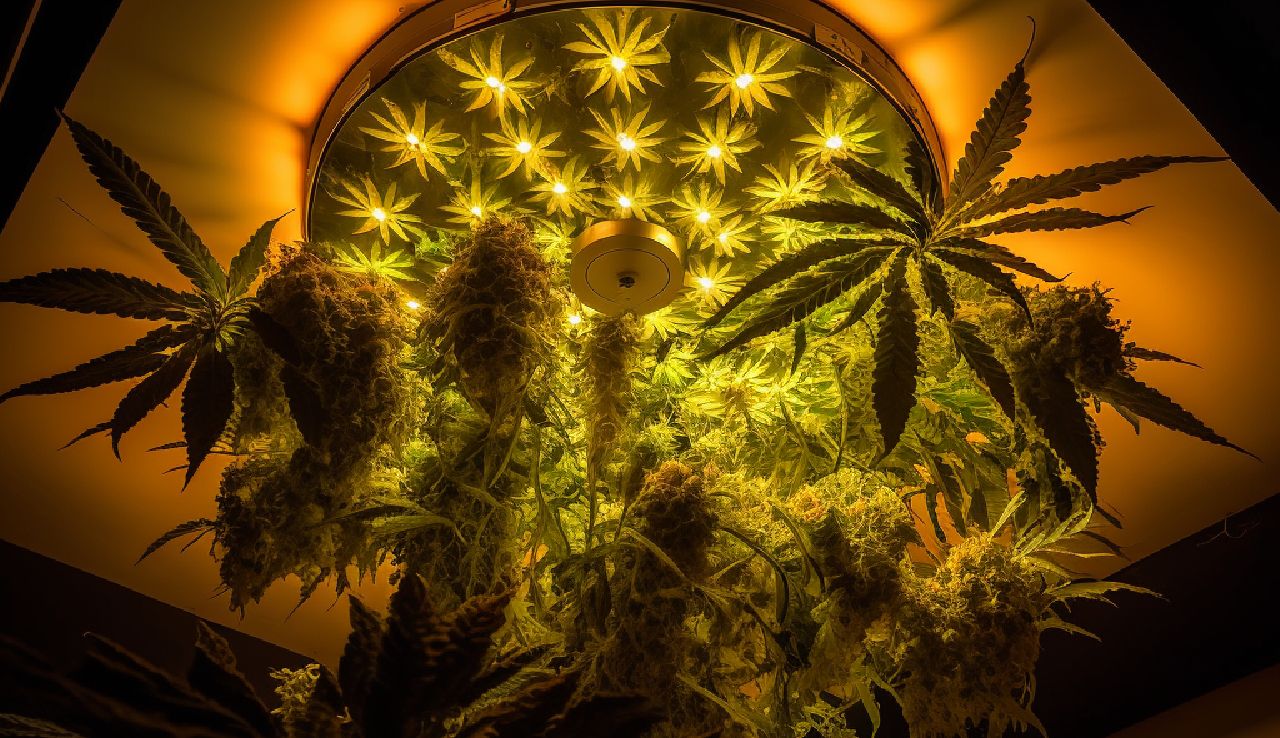
Lighting is another critical element for having successful indoor cannabis growing practice.
The long list of lighting options on the market could make one’s frightened and confused. For beginners, you may stick with a simple option. Or would you rather spend 5,000 bucks on some fancy light for your first attempt? I assume no.
Some ‘old-time’ cannabis farmers may still recommend Metal Halide (MH), High-Pressure Sodium (HPS), and, even, fluorescent lights.
However, some impressive present-day LED lights provide great outcomes to indoor farmers at relatively affordable rates
The fact is, you can’t go wrong in choosing light options for your indoor growth.
However, your regular house-light options aren’t your best odds; neither are your iguana and aquarium lights. But besides these specifics, it’s your call.
Modern LED lights give you the bang for your buck. They offer more lumens – compared to MH, HPS, and fluorescents. Make sure to check for lighting specs for the particular strain you wish to grow.
Learn more: Best Grow Lights for Indoor Growing
Fourth Step – Get Good Containers and Soil
These are essential components of your planning stage. These factors will impact the implementation ease of your entire plan and, in turn, the end product. Make the best possible choices. Choosing the right containers may not be as easy as it seems. However, it isn’t that complicated, either. The best container depends on the composition of your grow design.
You may need to get large and deep containers – a 50-gallon tote will cut it if you choose hydroponics. If, on the other hand, you wish to use a standard soil setting, your everyday five-gallon paint bucket will be just fine.
An extra consideration is your container composition – ceramic, plastic, and PVCs are the most common options. You can look at several types of soil mixtures easily on the internet. A simple and precise Google search will do. You may also check out cannabis-related websites and books.
When picking a soil composition for your specific strain, read suggestions, and reviews from persons with experience in the particular strain you wish to invest in. Every cannabis variety has specifics for nutrients and soil type.
However, many marijuana plants lean towards a combination of top-grade potting soil and perlite or peat moss. Such structures serve better soil drainage.
Bat guano, bone meals, and blood meals are basic properties used to make highly nutritious soil for growing indoor cannabis – apart from potting soil and moss or perlite.
Learn more: Pots and Soils Tutorial
Fifth Step – Decide Between Clones or Seeds
Do you want to use clones or seeds for your indoor farm? This decision is easy, based on your access to clones and/or seeds. If both options are available around your area, you should consider some factors before making a choice.
First-timers widely prefer clones, as they are relatively more practical and easy to begin with. Patience is highly required for seeds as the process is time-consuming – around 14 to 28 days.
Nevertheless, clones still have their downsides. Notably, clones have relatively fewer available strains.
For seeds, you can lay your hands on any cannabis strain you desire to grow. You’ll also obtain feminized seeds, which are bound to produce flowers – only feminized cannabis plants have flowers, males don’t.

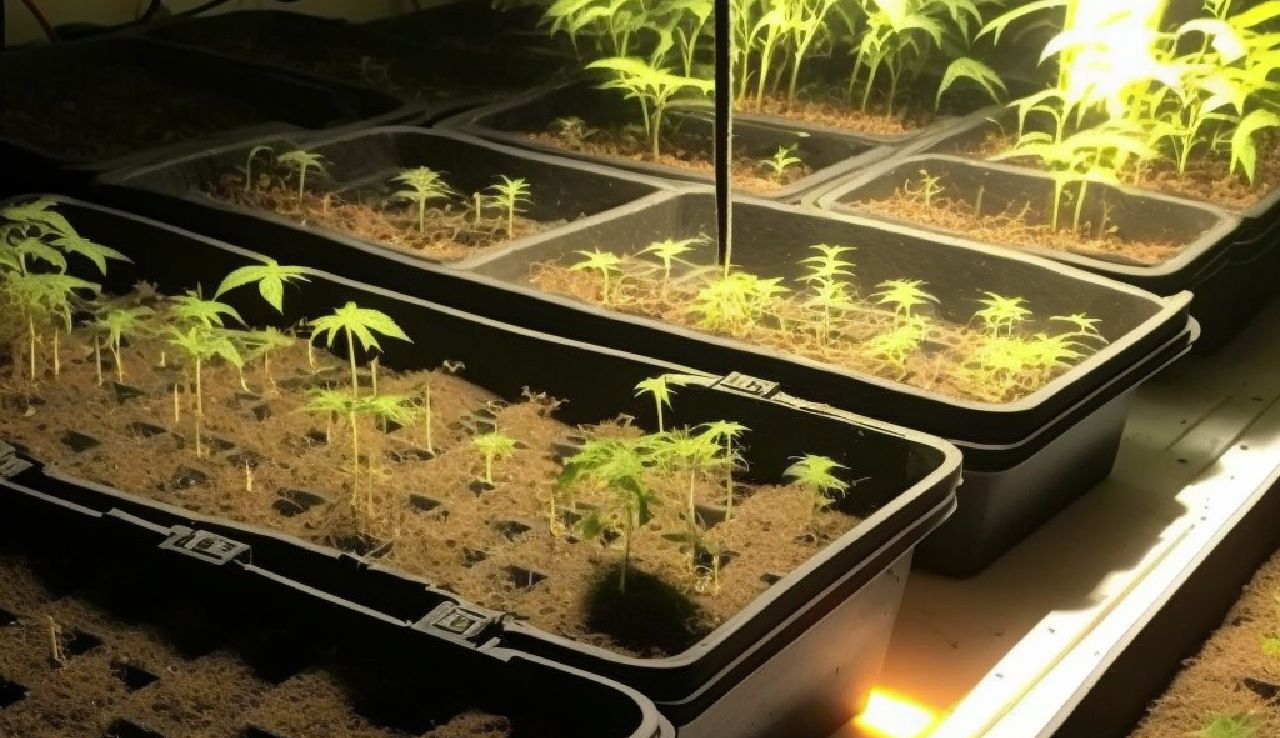
Sixth Step – Plant Cannabis Seeds
After obtaining your seeds or clones, the subsequent is planting. If you have followed the steps so far, we assume you also have your preferred soil, containers, and lights. If right, then here’s the planting step:
1. Put the soil in your prepared containers
2. Make several quarter-inch holes in the soil, as needed.
3. Put seeds in the holes and cover them with soil.
4. If you prefer clones, transfer them to your prepared containers from their packaging.
5. Now, let there be light. Many growers prefer to put on their lights for 12 hours and 12 hours off. Some growers prefer to run a two – four week 24/7 lighting cycle, which, they say, helps boost the vegetative operational cycle.
Do a lot of research to choose the most suitable light cycles for your selected cannabis strain.
Learn more: How to Start Cannabis Seeds Right
Seventh Step – Keep Plants in Shape Until the End of Flowering
With correct maintenance, all your efforts may be well-spent. Mere daily watering will not give you the best yields; overwatering may kill them. Proper care and maintenance are fundamental.
While ‘maintenance’ sounds easy and straightforward, it isn’t entirely so in practice. The complexity of this process is usually hooked into the particular strain.
Different cannabis strains have their preferred soil composition and unique environmental and lighting conditions.
One crucial maintenance tip to have in mind is – It’s safer to underwater your cannabis herbs than to overwater them.
Again, look out for the leaves. See if they are curled up, down, or discolored. These signs indicate whether or not the plant needs more/less airflow, water, or/and light.
Learn more: Week by Week Guide to Flowering Stages

Eighth Step – Harvesting Your Cannabis Indoors
This is undeniably the most exciting part of the entire indoor growth process. We all anticipate this part with high hopes and joy. When D-day finally arrives – between six to eight weeks after the beginning of flowering – the harvesting proper is fast and flawless.
Here are easy steps to harvesting your yields
1. Use scissors, shears, or clippers to cut the herbs from the base
2. Hang the buds on a line – or put them on a drying rack – In a dry and dark space for two to three weeks.
3. Prune the buds from the leaves and branches.
4. Place the flowers in cardboard boxes or mason jars and allow them to cure. If done in mason jars, you may take off the lid and allow them to ‘breathe’ for some couple minutes – say five to ten – daily. Allows the herbs to cure for about 10 to 15 days.
Congratulations! You’ve completed the steps to grow cannabis indoors. You ought to expect a pungent odor, right high, and impressive visual attraction from your dried buds.
Learn more: When to Harvest Cannabis
Final Words
We conclude with the steps above. Your first indoor cannabis growth attempt should be a cakewalk. Yes, it’s not as difficult as the fly-by-night farmers make it seem.
It requires some primary gardening expertise, strain-specific knowledge, and some stroke of patience.
Our Guides
- Cannabis Seeds
- Marijuana Growing Room
- Pots and Soils
- Hydroponic Weed
- Light for Growing
- Ventilation
- Smell Control
- Temperature & Humidity
- Watering Weed Plants
- Germinating Weed Seeds
- How to Scrog Cannabis
- Transplanting Cannabis
- Cloning Marijuana Plants
- The Vegetative Stage
- Cannabis Flowering Stages
- How to Spot a Male Plant
- Fertilizer for Hungry Plants
- Pest Problems
- When to Harvest Cannabis
- Trimming the Buds
- Curing Weed

Marijuana Seeds.
Best Strains to Grow
